
Homekit Servo Blinds
I have little experience with hardware, but had a goal that I wanted to retrofit my completely manually operated blinds so that I could control them via HomeKit. This post is about how I accomplished exactly that! The final solution is controllable down to a percentage via siri and the home app.
Best thing I’ve done all year. #HomeKit #homebridge pic.twitter.com/4uWfUkBkt0
— Zeke (@ZekeSnider) April 18, 2019
The Equipment
- Raspberry Pi 3
- Alternatively, you can use a Raspberry Pi Zero with a headboard soldered on (or solder directly)
- 360° servo
- Make sure you get a 360° servo.
- Jumper wires
- Screwdriver extension
- This one is overkill for this use case, but I figure they’d be useful to have anyway.
- Command strip
- Wand grip
- Note: I haven’t tested this one specifically because my blind already had a grip. I ordered a few of these and am planning on testing them with my other blinds.
(Note: the amazon links are affiliate links.)
The hardware
 The original blinds
The specifics will obviously differ based on what type of blinds you have. My blinds are twist blinds, which conveniently have a removable grip on the bottom of the rod, with has a hole on the bottom. I noticed this, and thought it would be perfect for screwing to a servo.
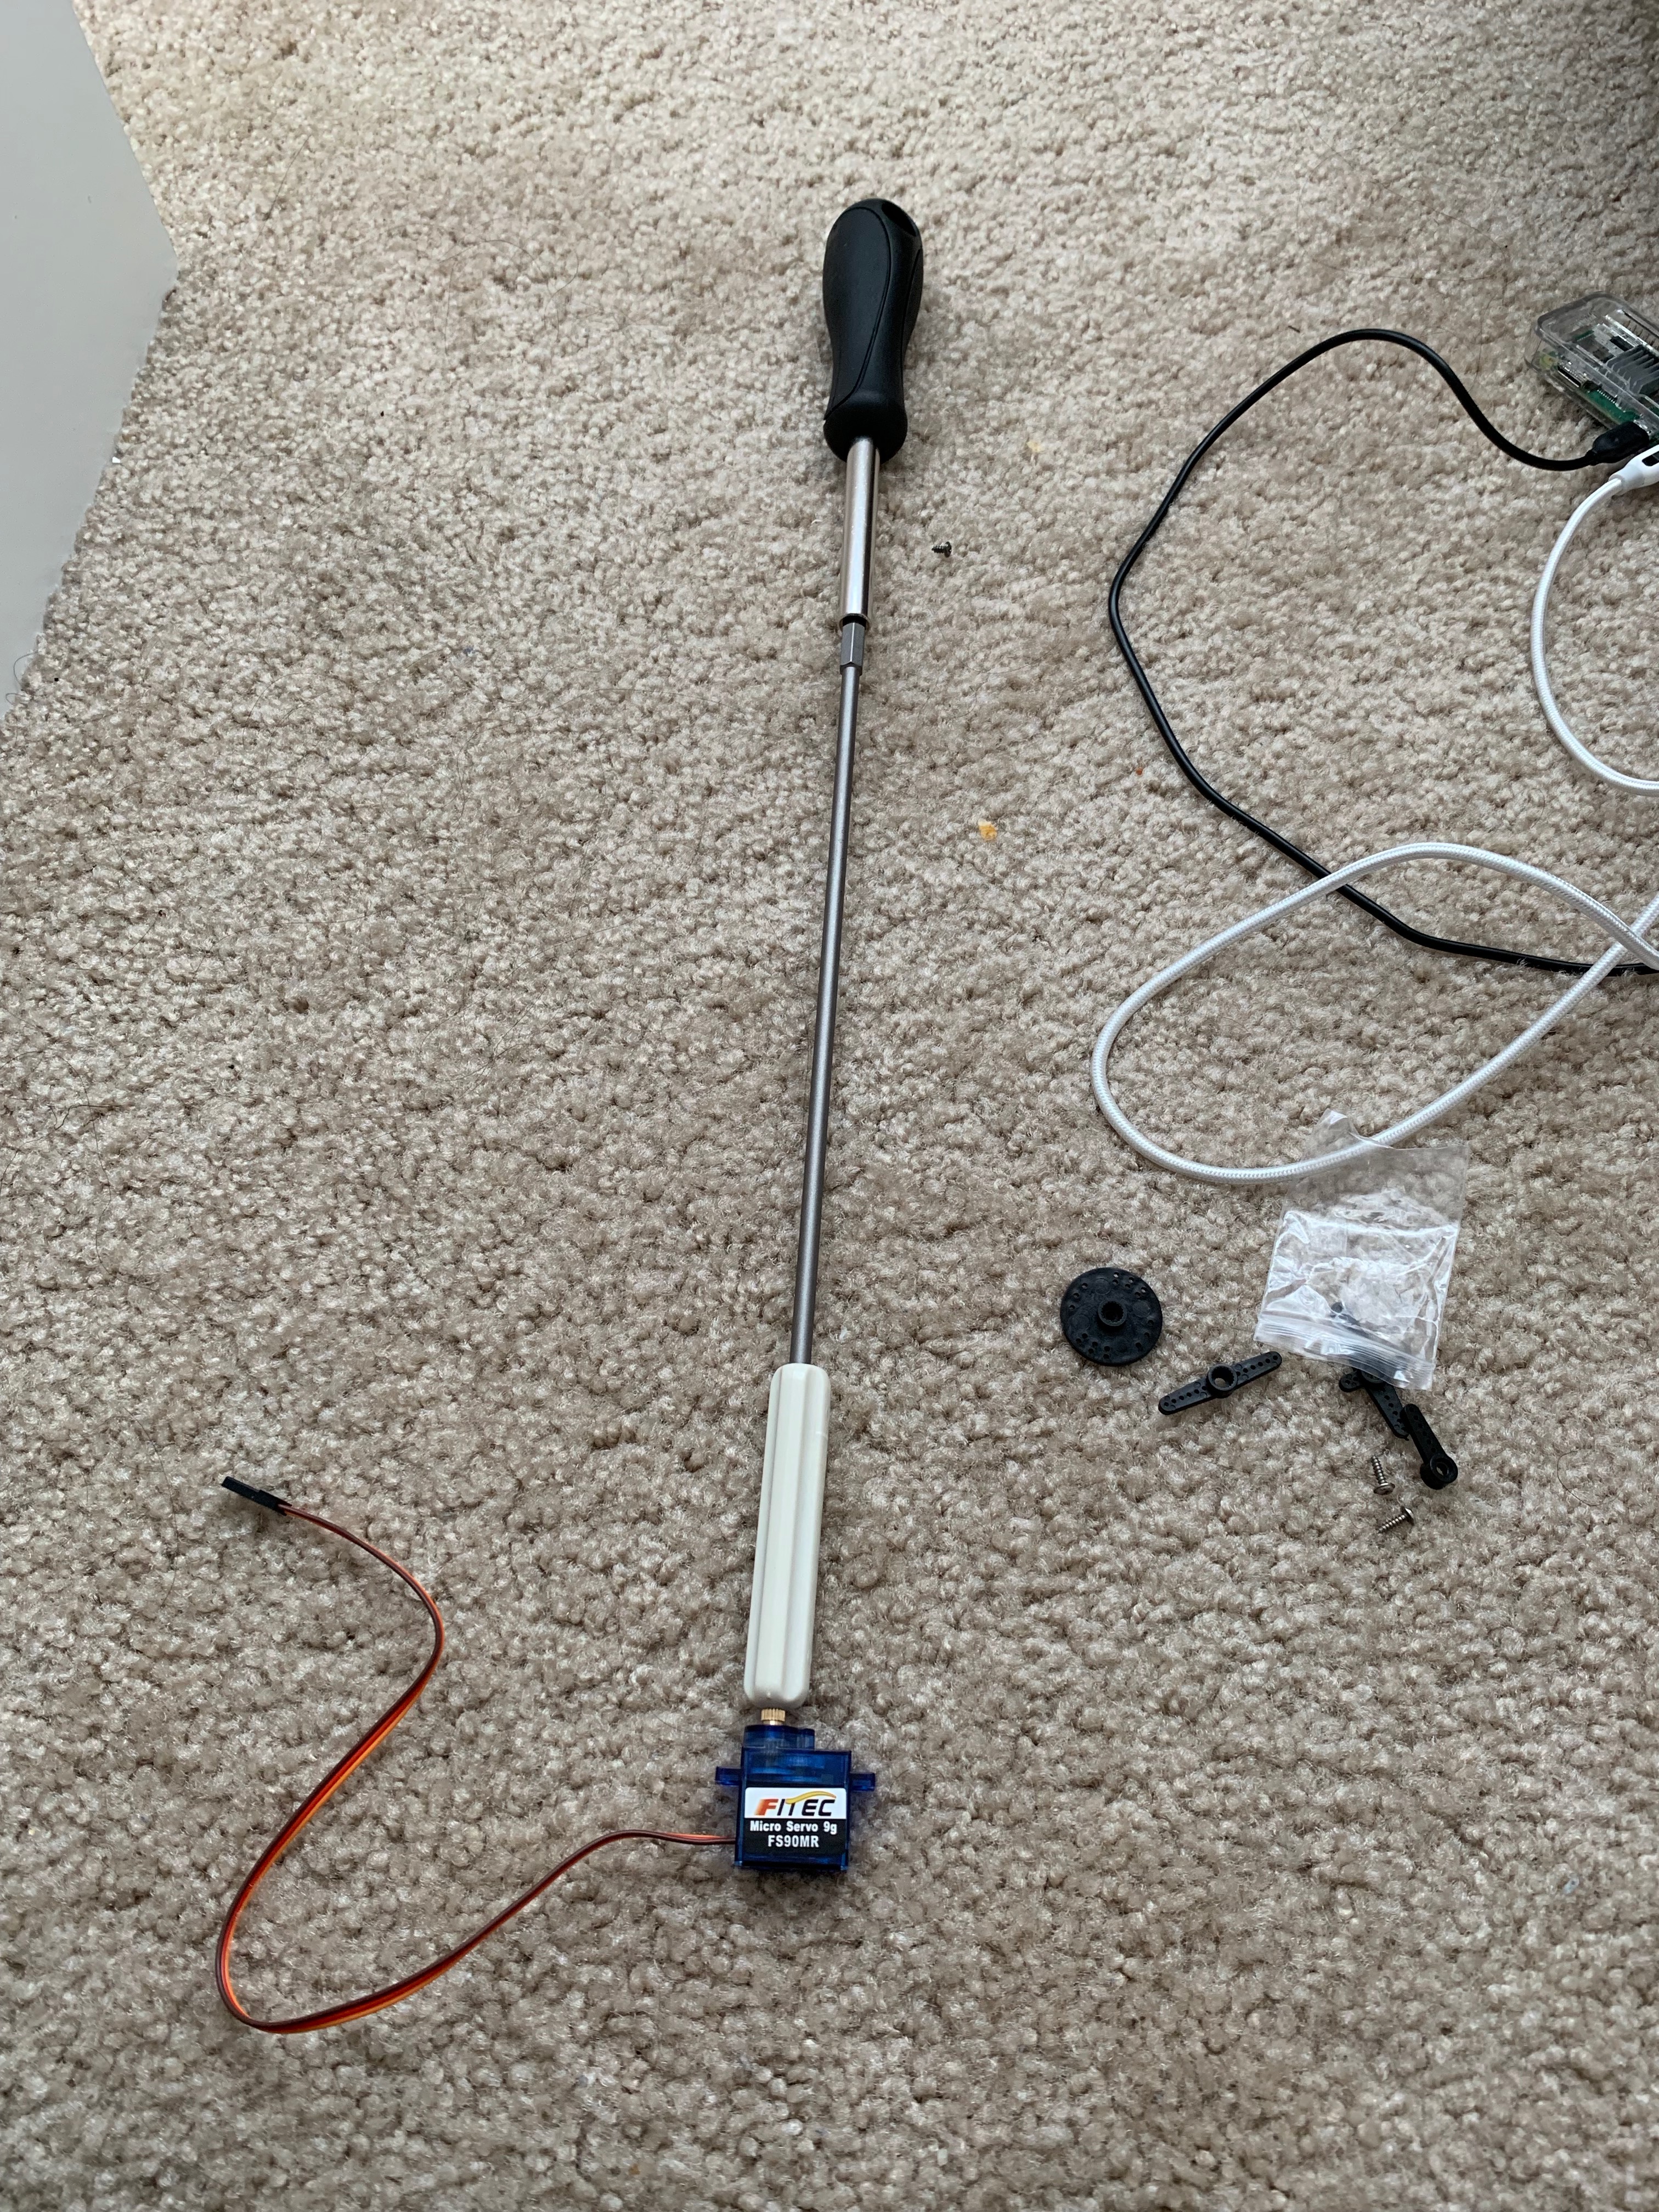
screwing into the servo
You’ll need a screwdriver extension to properly screw into the servo through the grip. My extension was overkill on length, but got the job done.
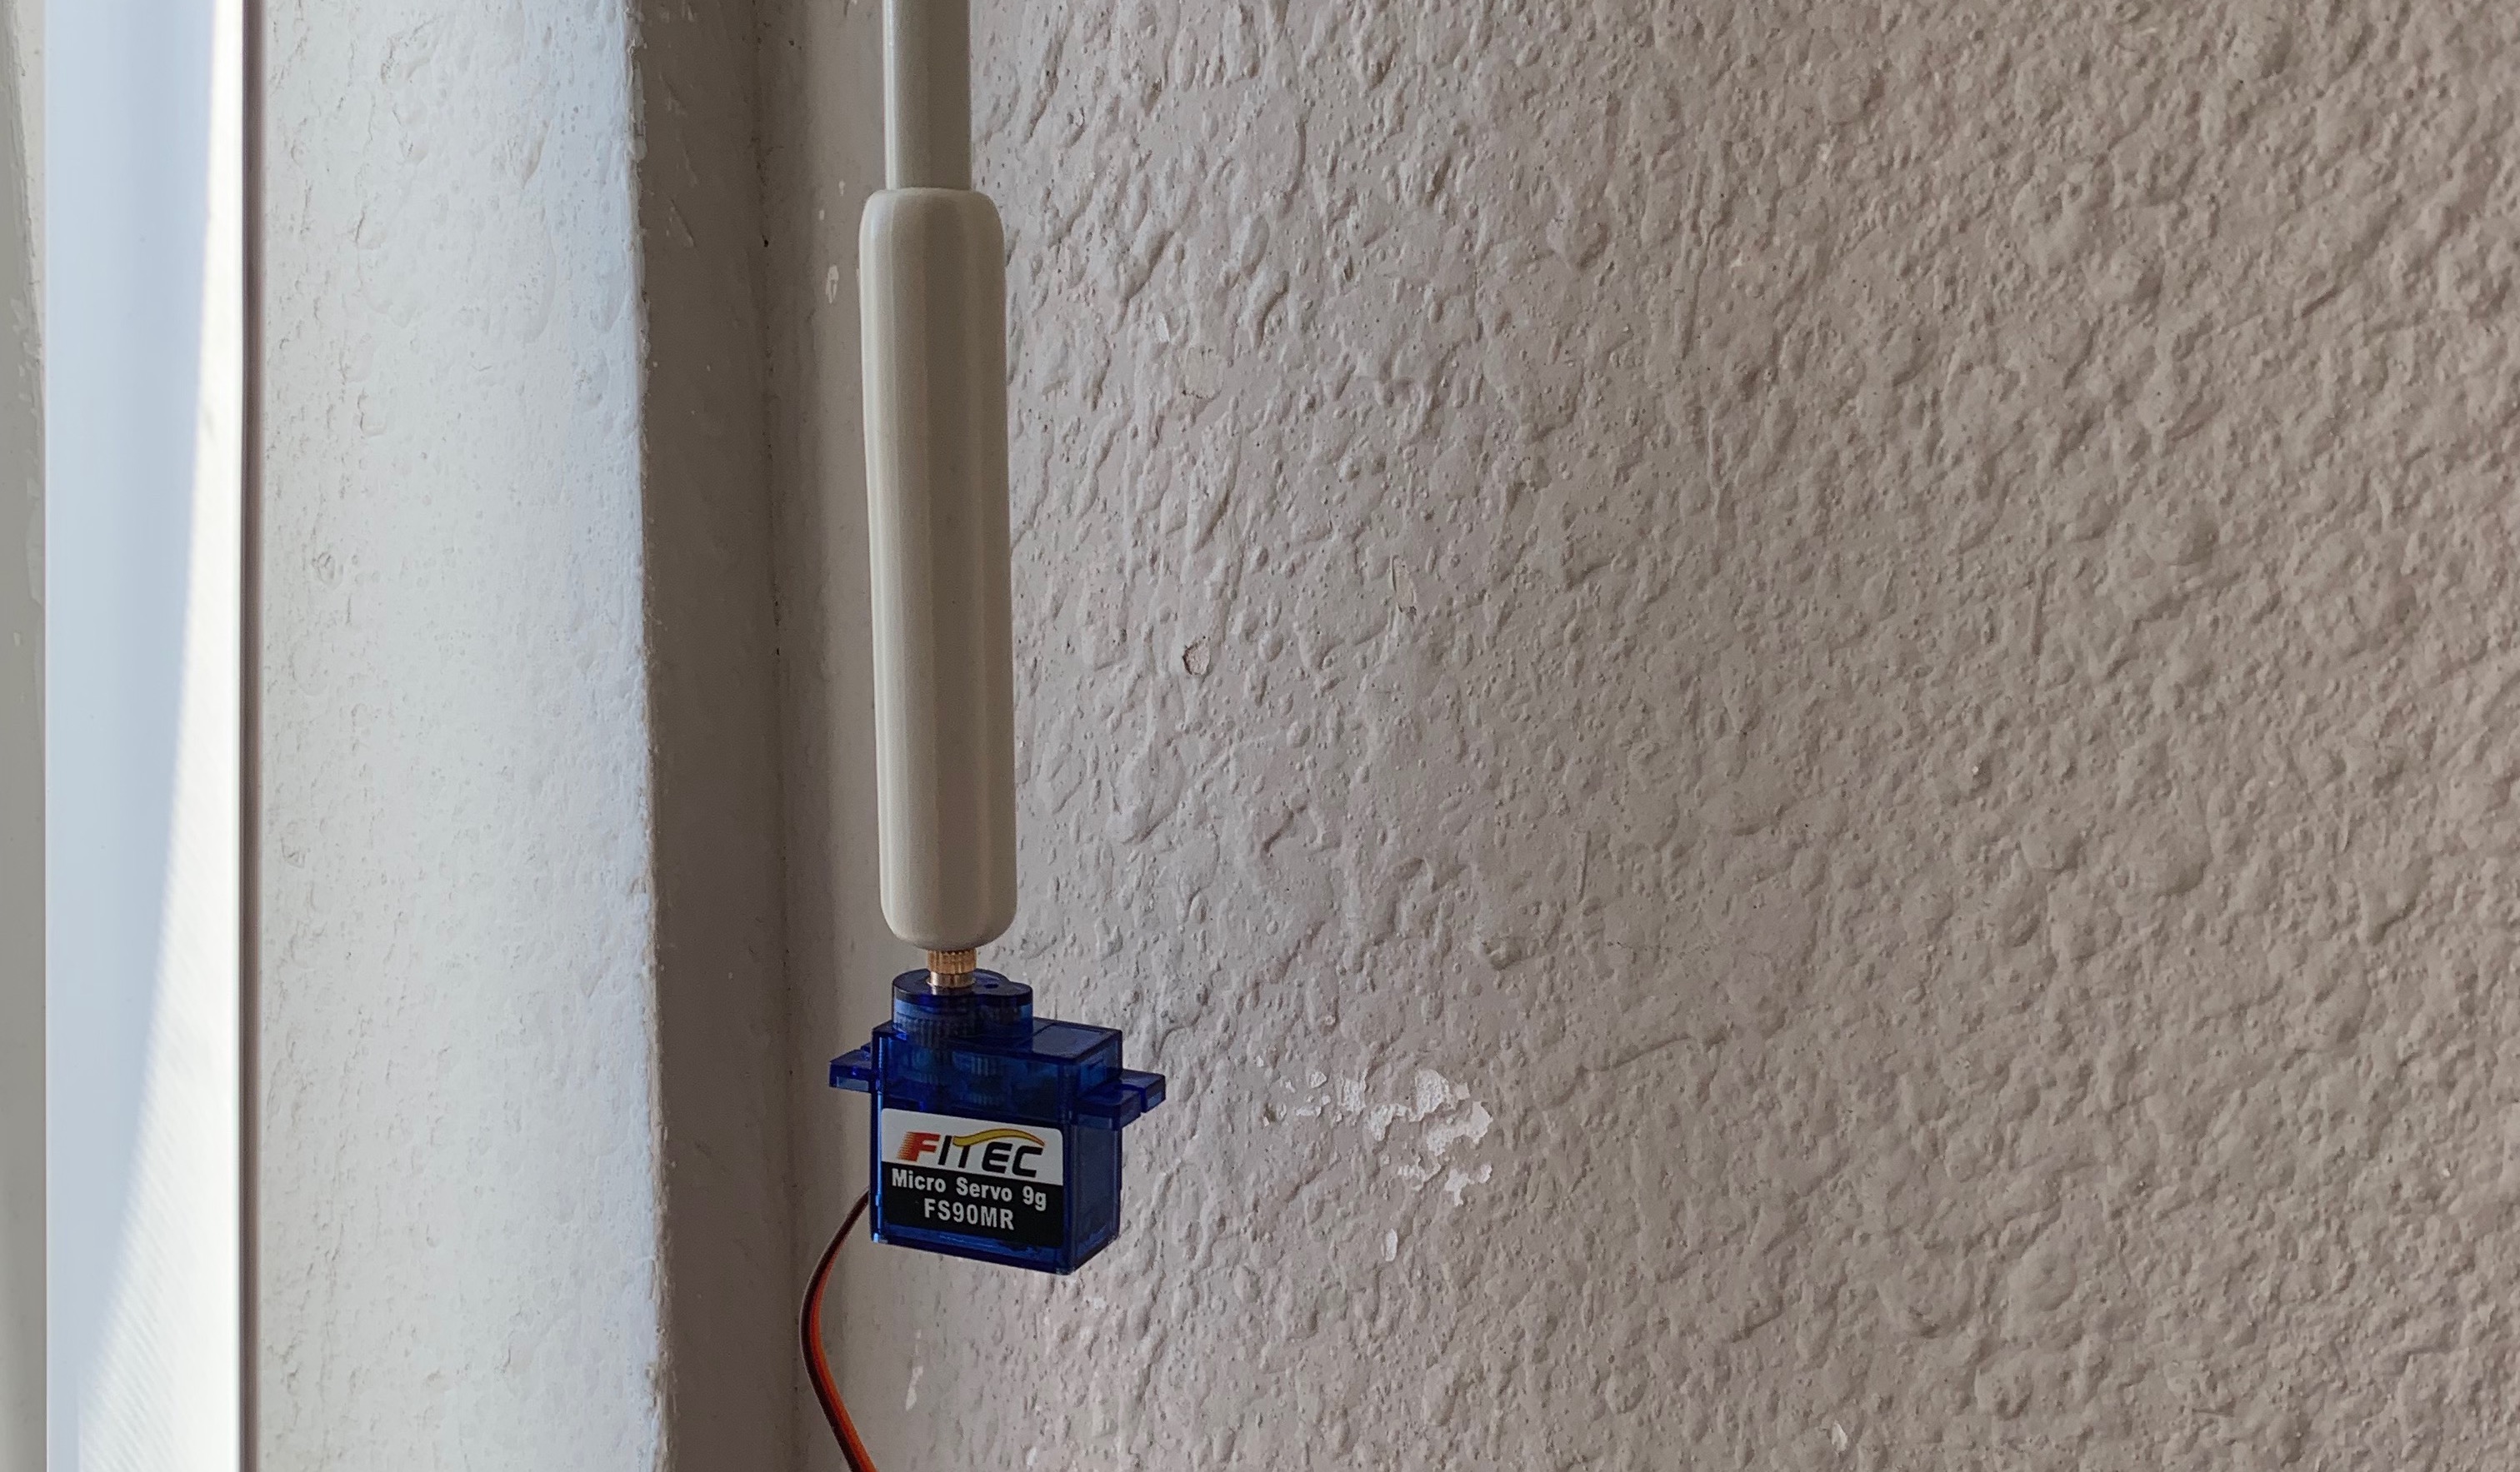
now how to attach to the wall
I attached the grip back onto the blind rod, and we’re almost good to go. Except I needed to attach it to the wall, and still have the flexibility to remove it in case I need to manually slide the blinds. I’m also renting this apartment so I didn’t want a permanent solution like screwing into the wall.

modern problems require modern solutions
Command strips were a good solution for me. I’m sure this is super amateur hour, but it worked for my use case.
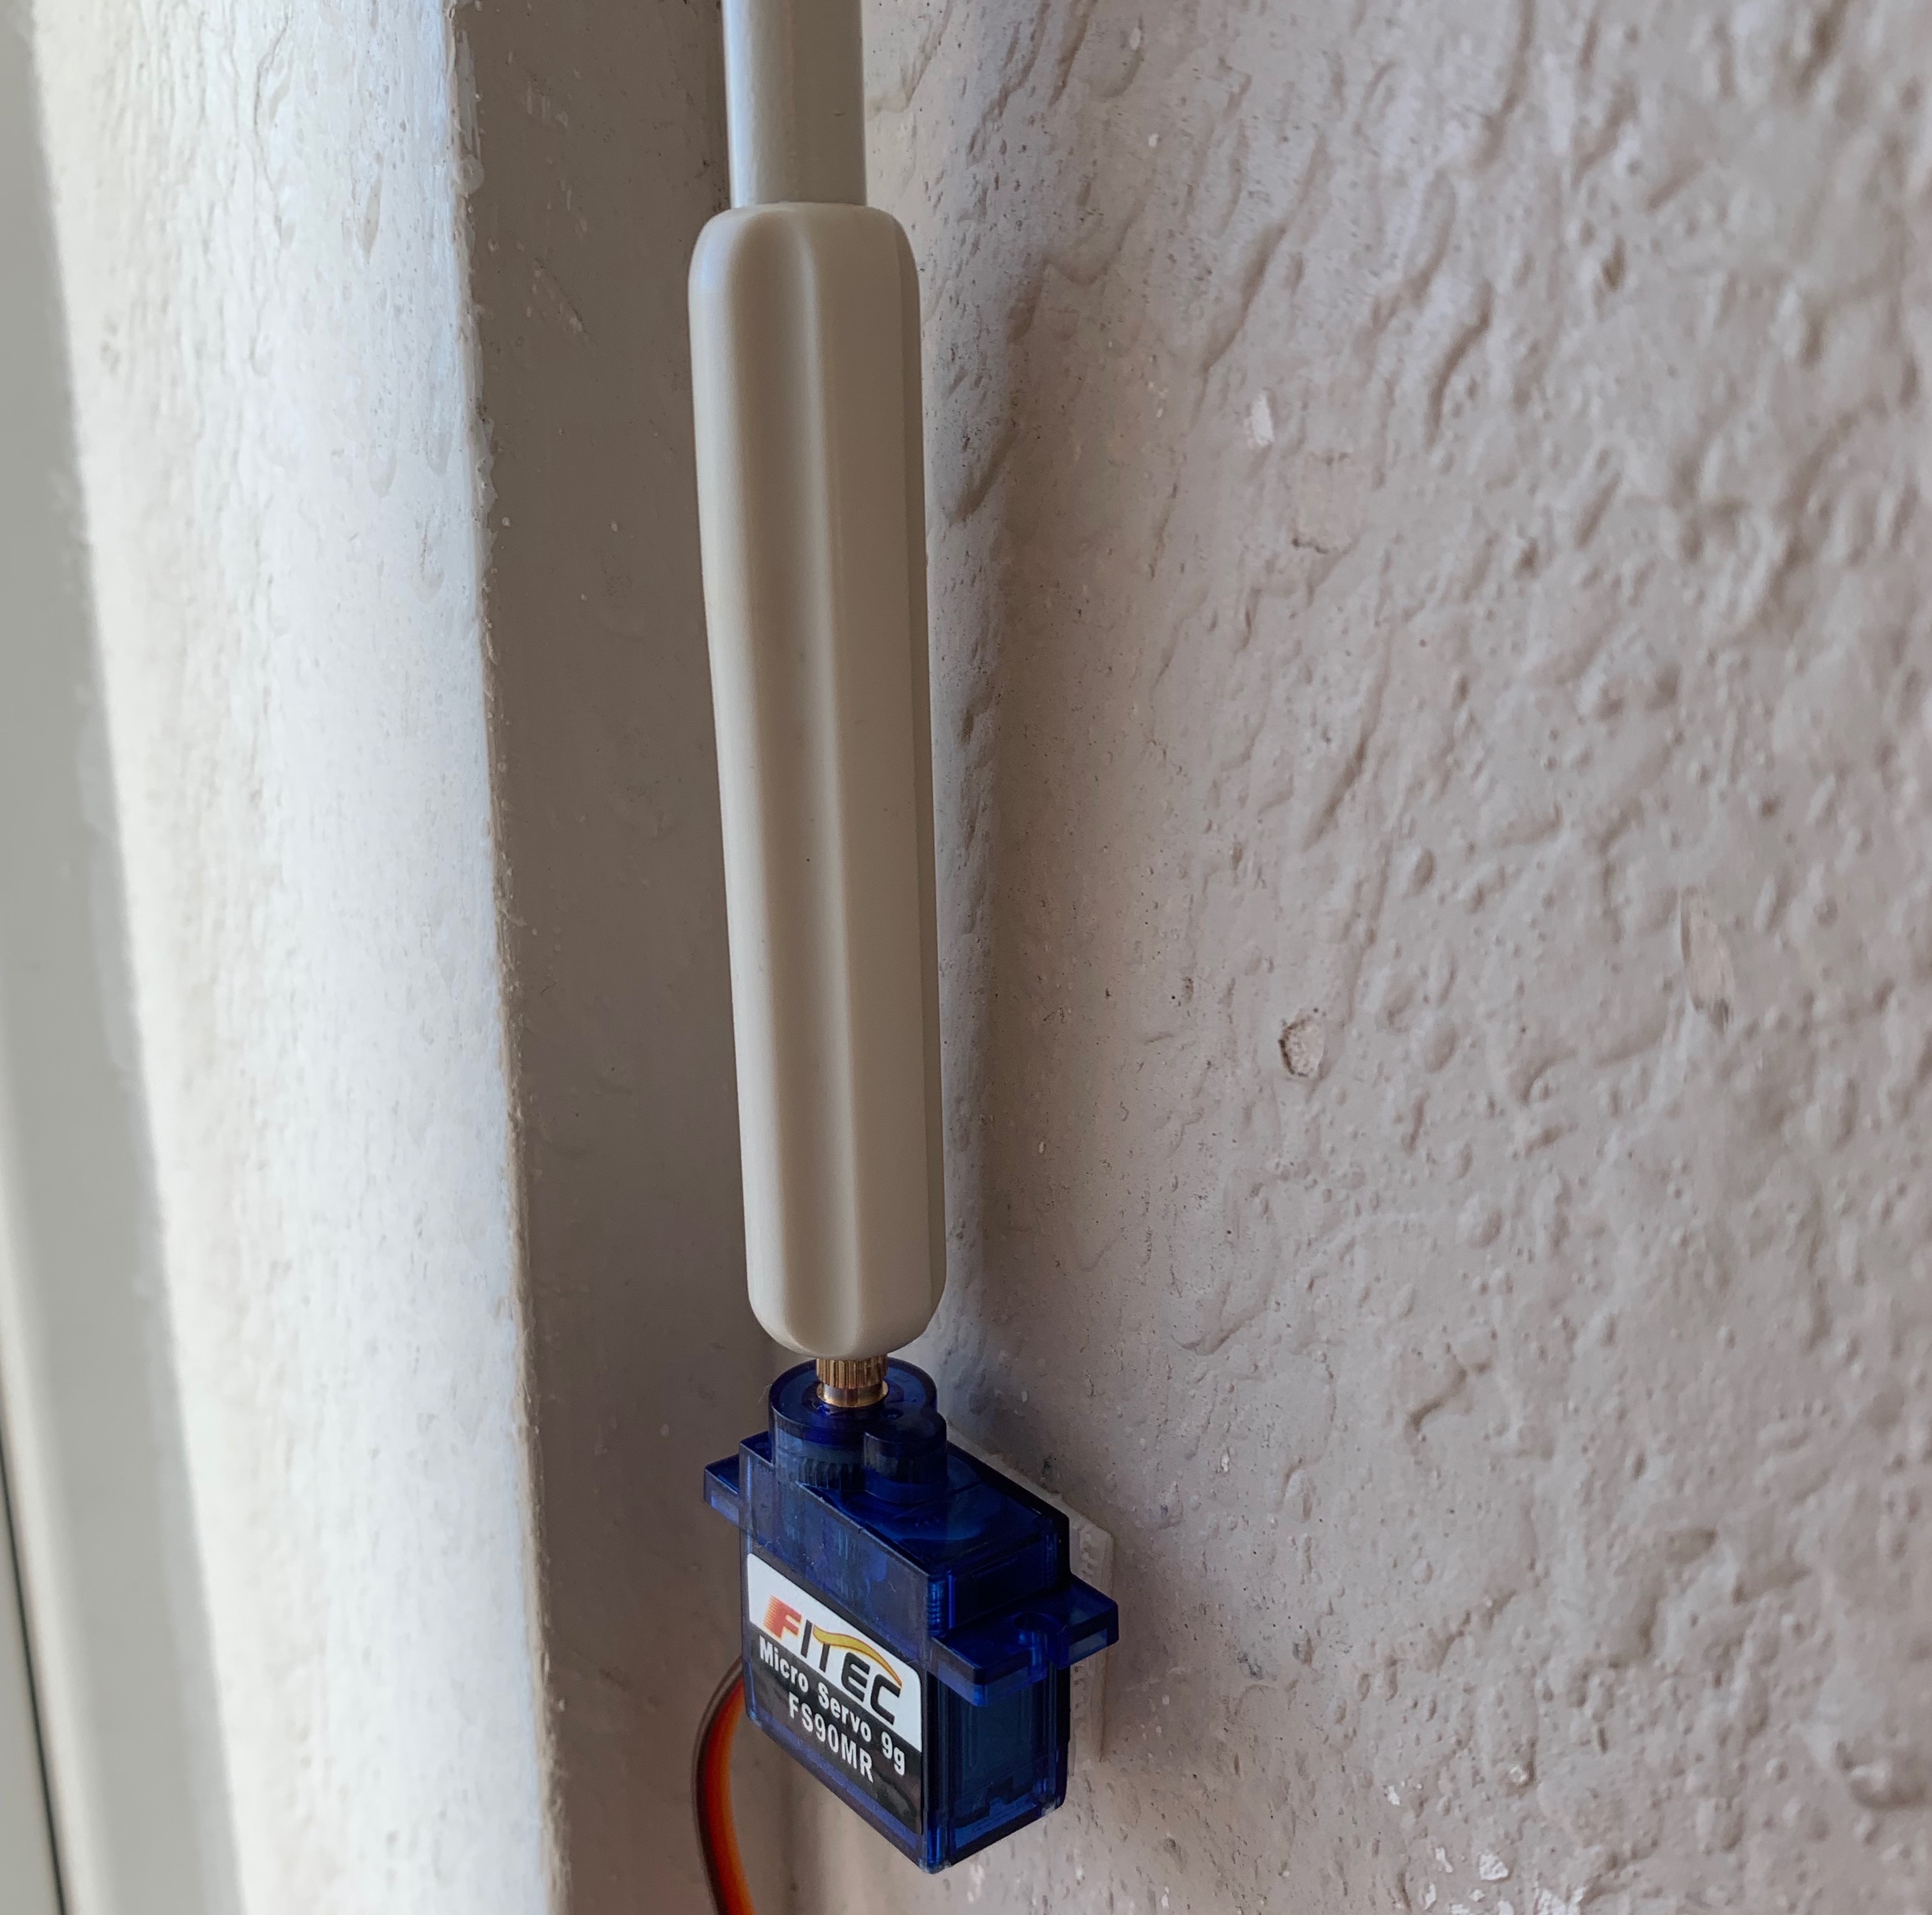
servo attached to wall
I then plugged in my raspberry pi to the wall (running raspbian), and wired up the servo to the pi using the wiring guide here.
The software
Because my ultimate goal was to connect to homekit, I installed homebridge, and set it up to run in the background. Then I stumbled upon the homebridge-minimal-http-blinds plugin, which allowed me to bind a blinds accessory to an http server. So then I set out to write a server that exposed the correct endpoints.
I ended up writing it in Node, and using pigpio to control the servo. You can see (and use) the source here. The nice thing about this solution is it allowed me to implement percentage based setting of the blinds.
The server’s implementation also includes rubber-banding on request. So for example, if the blinds are at 0%, you request 100% then request 20% after they reach 50%, they will immediately turn back. Newest request takes priority, and it checks which direction it should be turning on every iteration of the control loop.
After much tinkering via HTTP requests to determine the correct config parameters, I arrived at a final set of values. Then I setup my application to run persistently using systemd, and updated my homebridge config file to point at the new accessory. Afterwards it was all good to go.
I’m very happy with my final product and am currently working on implementing on the other blinds in my apartment!