Everett Parks Reviews Project
Earlier this summer I visited all 46 city parks in Everett, WA with my dad over 2 days. Growing up in Everett, I frequented some of these parks, but never been to others. With so many parks to visit, it was a definite challenge to visit them in such a short period of time. Despite these parks not being famous or well-known, there’s quite a few very nice spaces! I decided to document the parks and also the journey to visit them all.
If you’re just interested in the park reviews, you can check it out here. This post details the background of the project and some of the benign details of how I created the write up.
The preparation

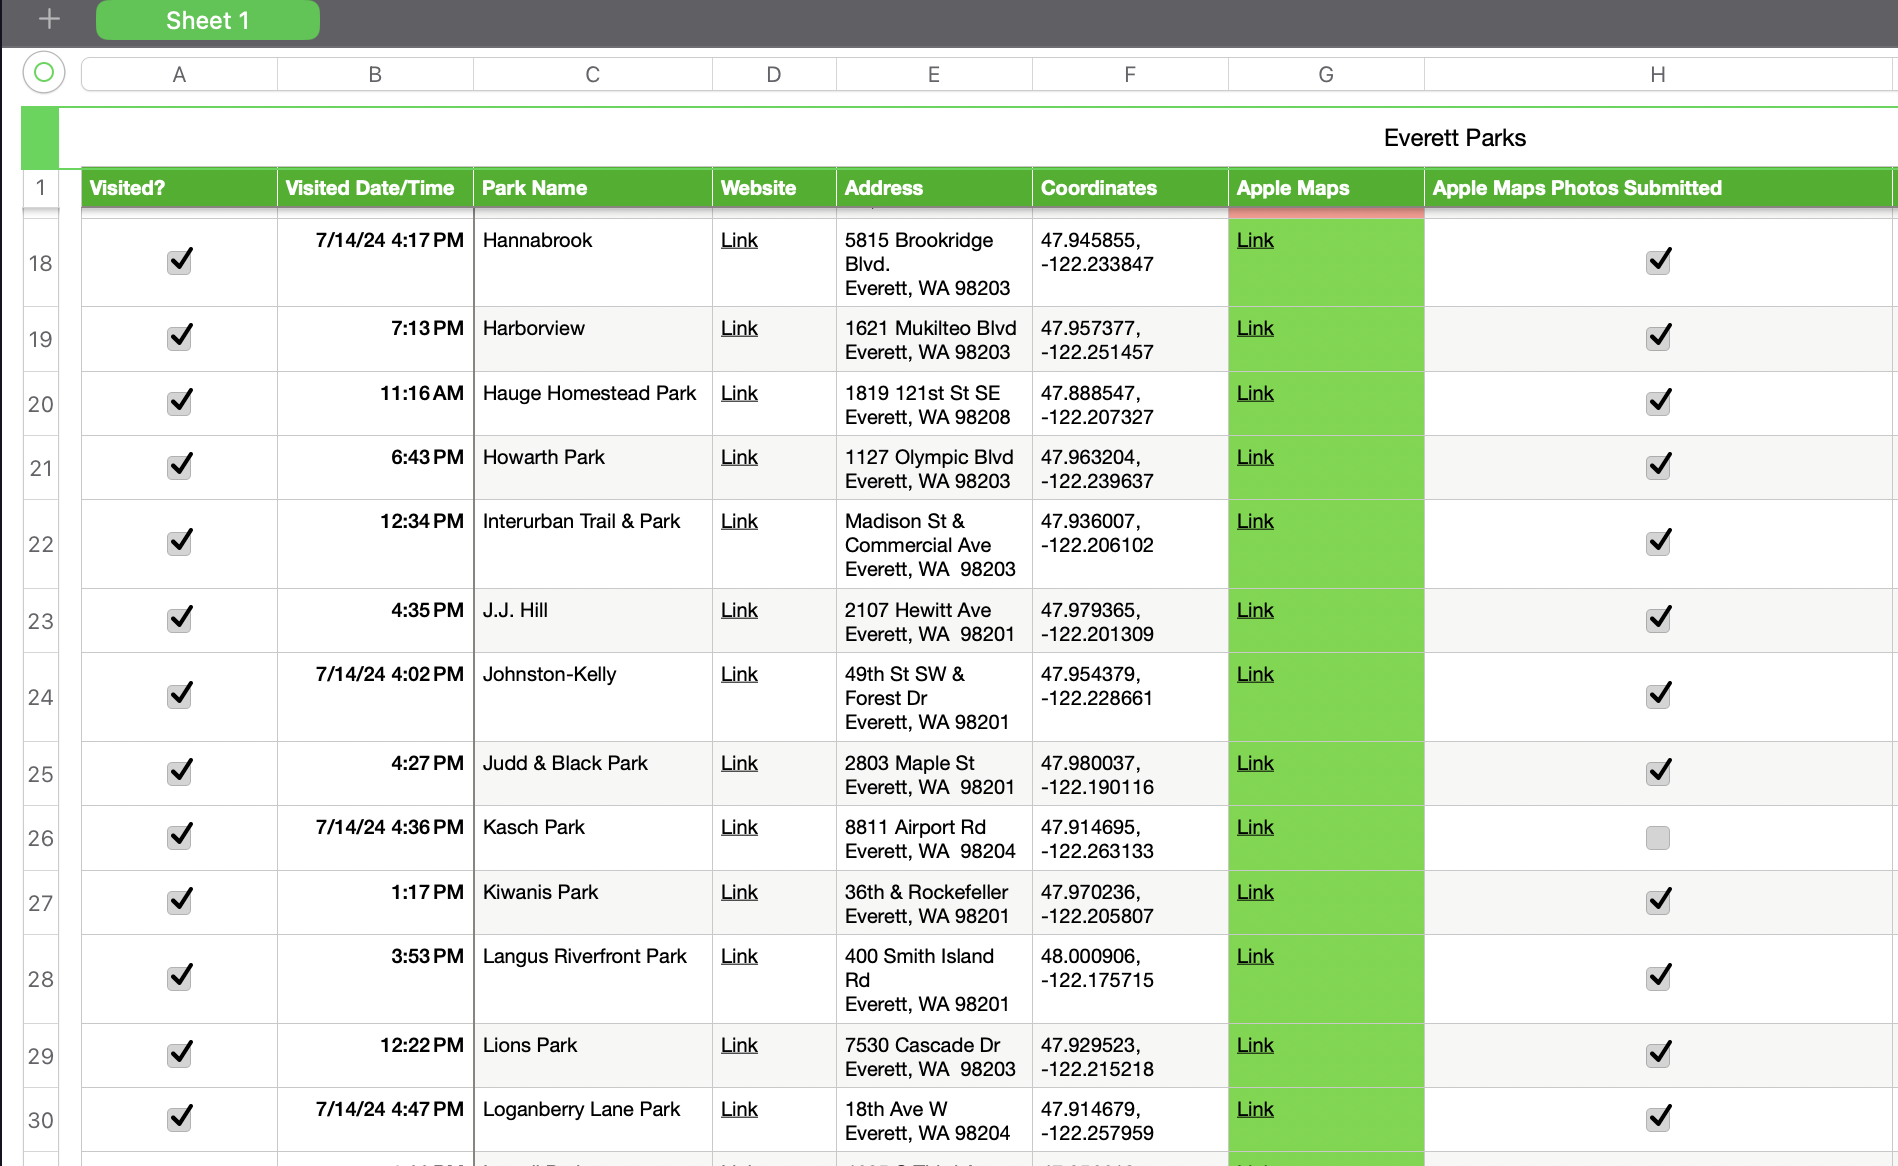
This project started off with some research a spreadsheet to track and categorize each park. The city parks website does a good job of listing them out. And was actually recently updated with new images. But the spreadsheet made it a lot easier to document coordinates/addresses, notes, and to keep track of which parks we visited during the outing. I used numbers for this, and the iCloud collaboration tools worked well and allowed us to update it on the go with the iPhone app.
After all the spreadsheet was listed out, I spent some time researching the exact location of some of the smaller and lesser known parks. There were a few that were not well labeled on Apple or Google maps. I made POI suggestions where possible after doing some research on the correct locations.

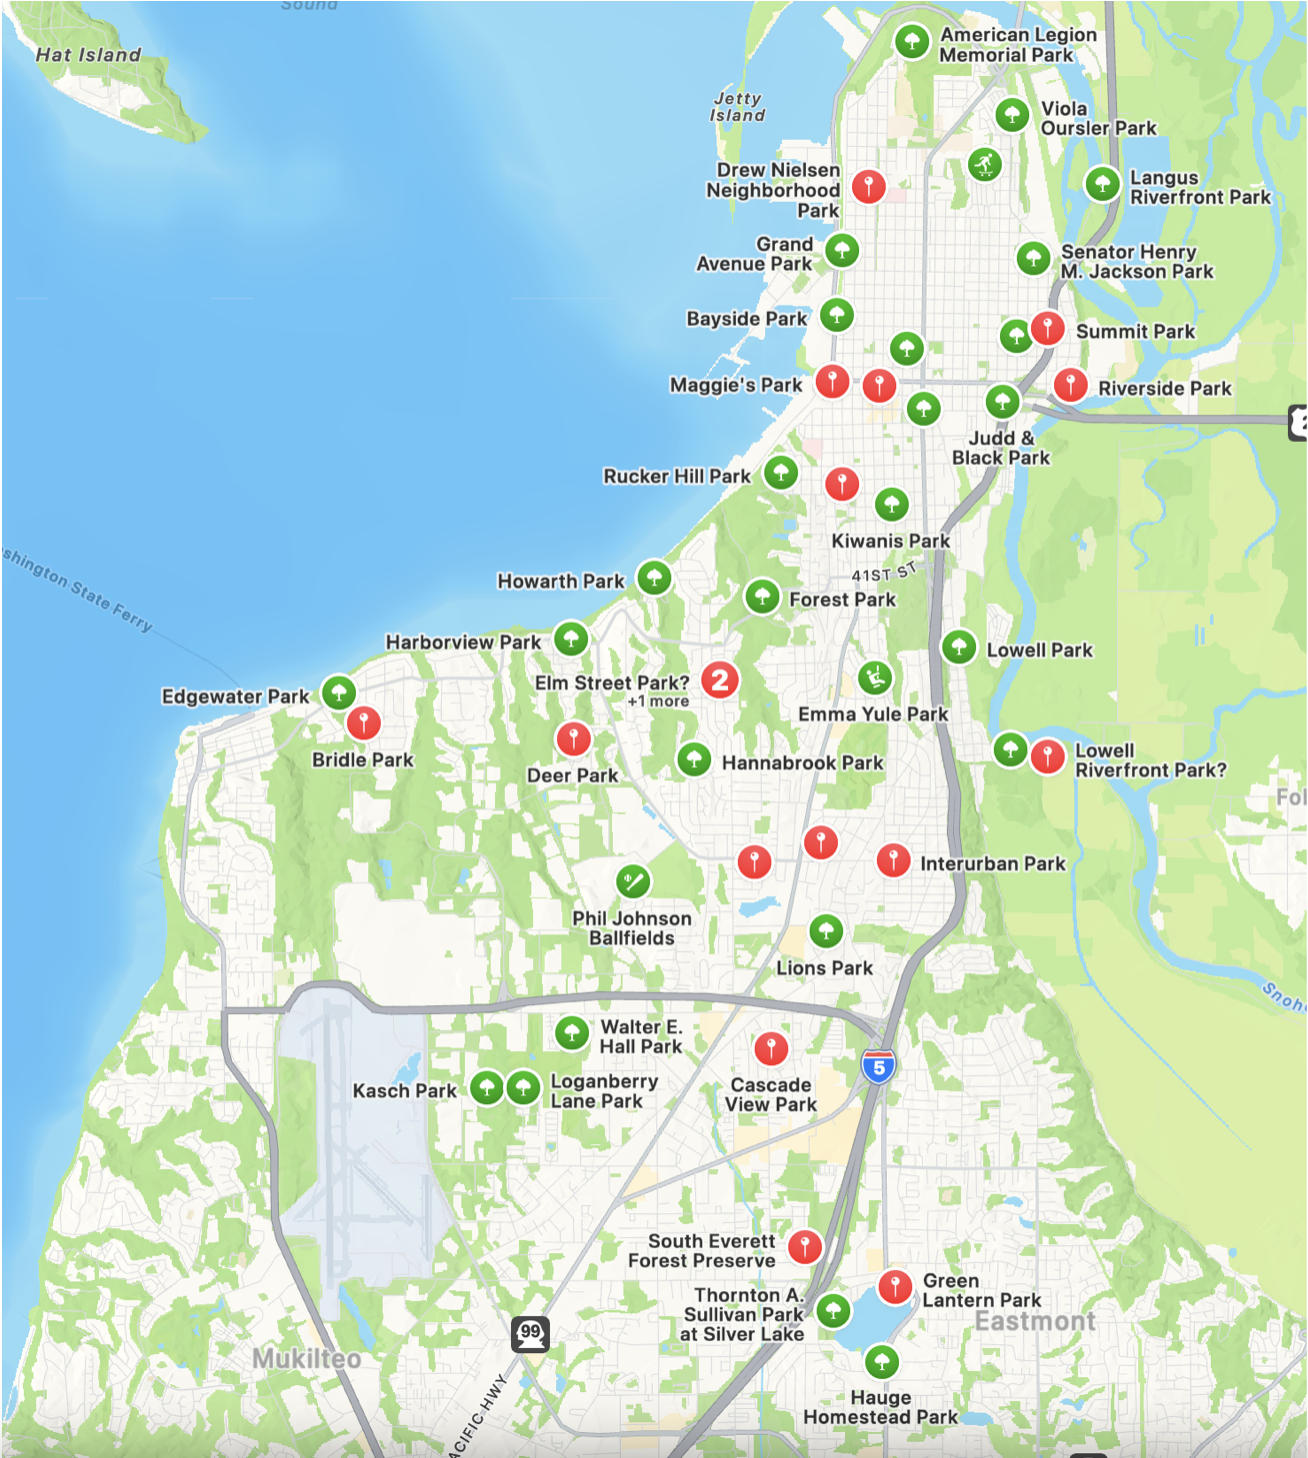
We also did some experimentation with path-finding to find the most efficient path to visit all the parks. We did have a limited time window for my visit to the Seattle area so we wanted to be efficient with the limited daylight time. Both ChatGPT and Claude did not produce great results for this, though we could likely have gotten better results by asking it to write a path finding algorithm to solve for it. Ultimately, we decided to do manual routing by looking at a map with all the parks pinned on it. It was definitely not the most efficient path, but the time loss was not substantial as the city of Everett is not very large.
The adventure

On launch day we went straight from the airport to park visits. With 46 spots to visit the goal was daunting and we weren’t sure if we could complete the challenge in only 2-3 days. We definitely spent less time at some of the parks to meet our schedule. But we did take our time at other substantial parks. It wouldn’t be an enjoyable venture if we were just driving straight from place to place after all. We lucked out on the weather conditions, with it being peak Summer and no rain at all.
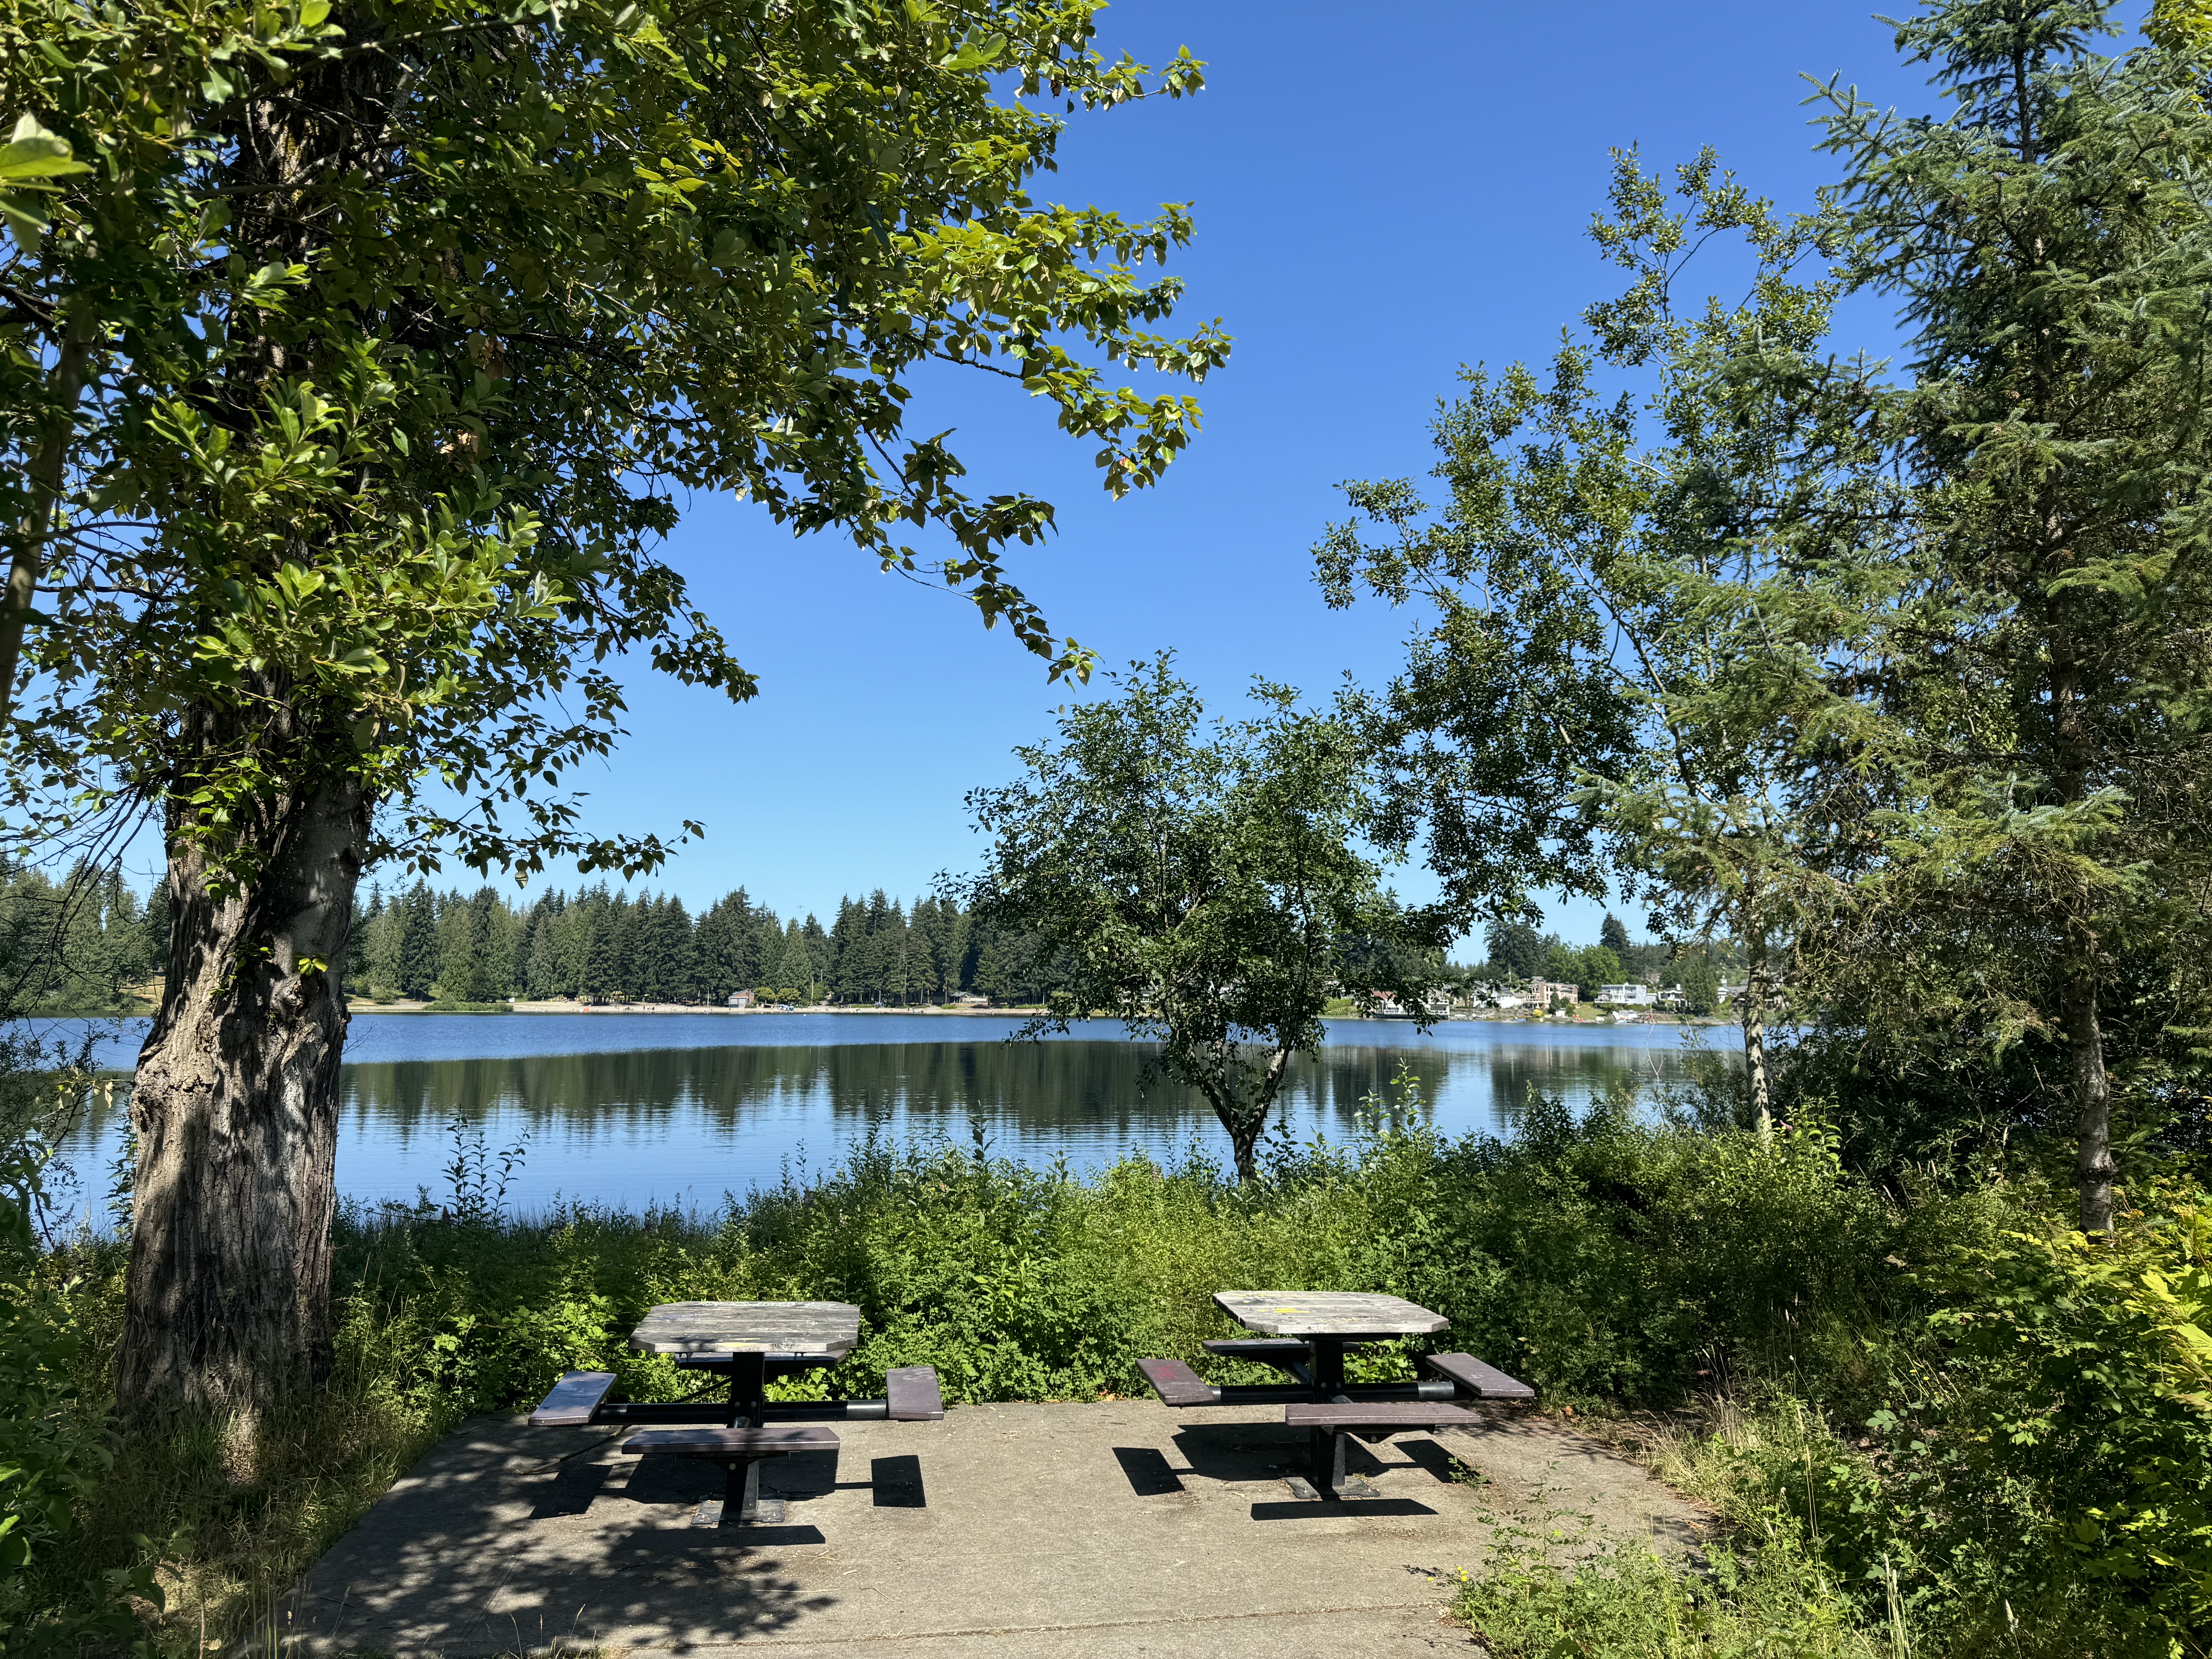
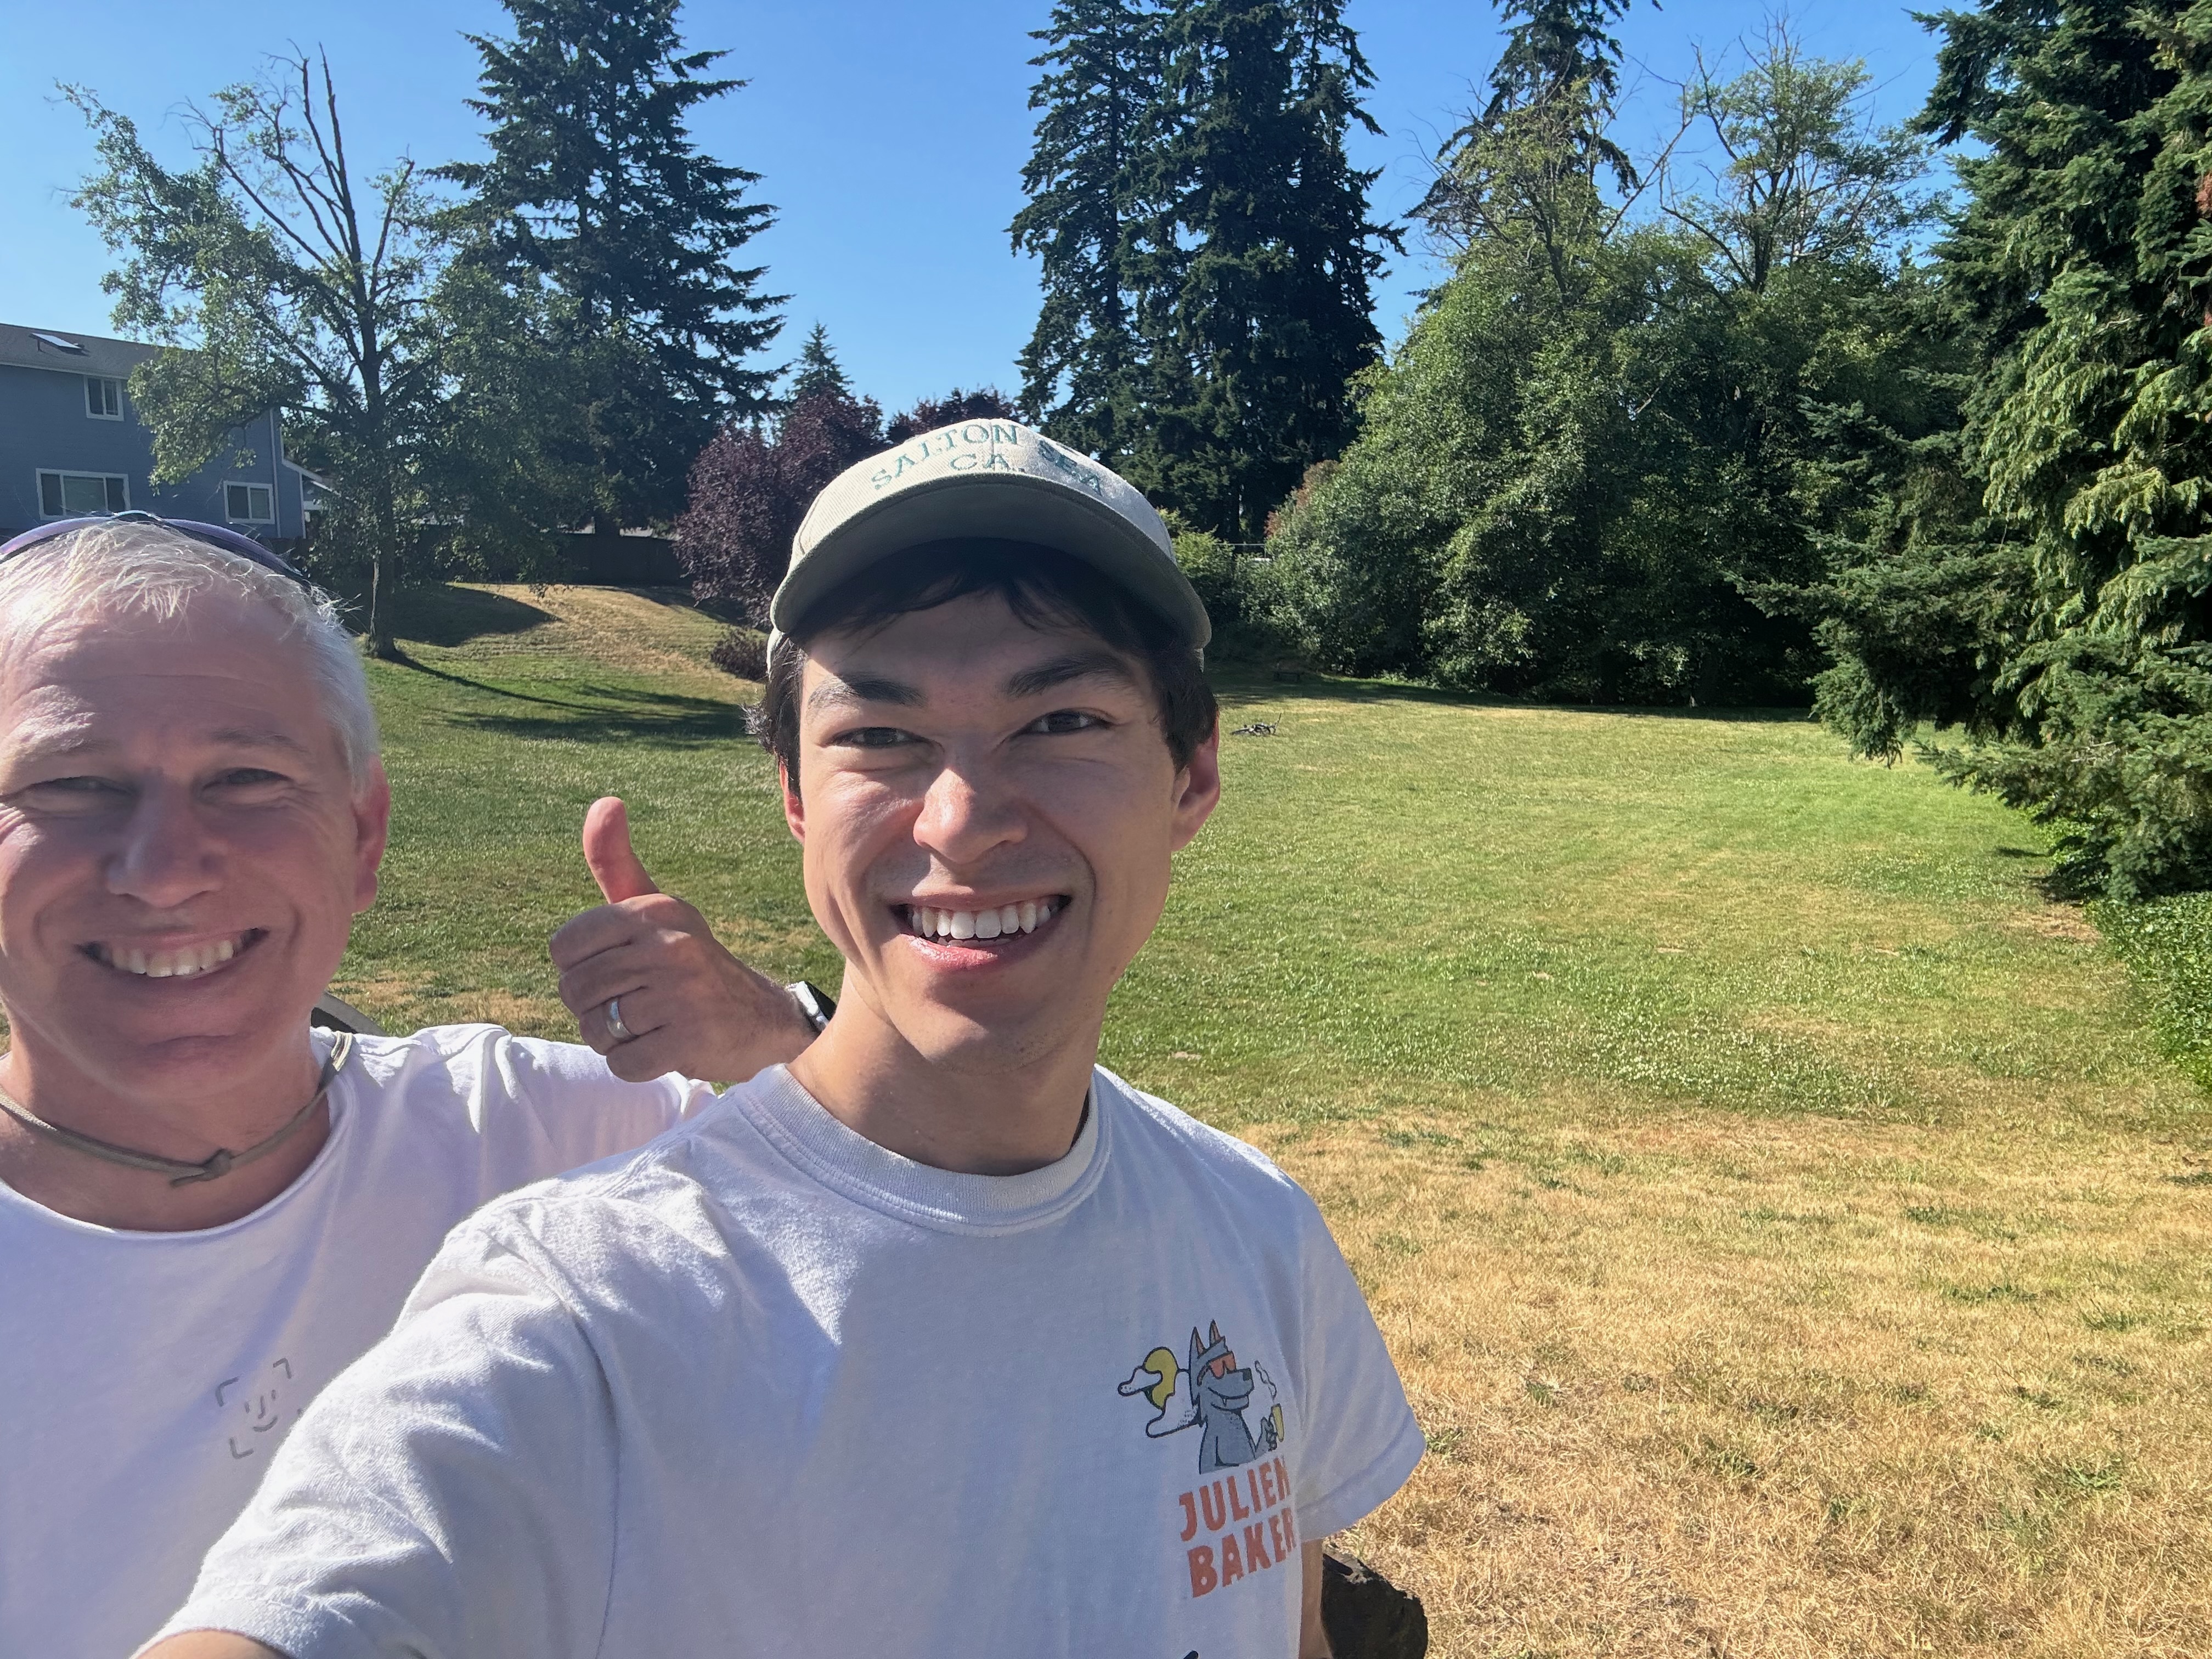
We also discussed how best to document this challenge. A video would be an option, but that seemed intrusive to need to film extensively during the day to capture the footage. I’m just not about that vlog life right now. So we decided to take some photos at each spot and do a write up of some sort afterwards.
It definitely was tiring going to so many parks in a short period of time. We had a break day to go see Bleachers at a music festival in Seattle in between which was a nice reprieve. We were exhausted at the end of each day but it was very rewarding at the same time. It was super satisfying when we finally met our goal on the 3rd day of visiting every park in the system. And while not all the parks were amazing stand-outs, it was still cool getting to see and experience new locations. I definitely want to re-visit some of these parks again in the future to more thoroughly enjoy them.
With the photos and notes taken, it was time to move on to documenting our memories!
The write up
For the first step of documentation, I made a significant number of corrections to Apple Maps location data so others can find the parks more easily. Some were missing, had incorrect names, or were in the wrong location. I also submitted the pictures that I took at each park. So if you look up any of these parks on Apple Maps you’ll likely see the same images as on this blog!
The next step was to start working on the blog page. This site hasn’t had a new blog post in over 4 years. While I modernized its deployment architecture a year or so ago with AWS Amplify, it hadn’t received significant attention. The Jekyll version and other dependencies were significantly out of date. While it sounded simple, this ended up causing a bunch of churn with plugin upgrades, theme updates, Dart Sass upgrades, etc. This was all menial tasks, but necessary to get the blog into better shape.
After this was taken care of, I moved on to implementing the functionality needed for the parks review page. I had a few requirements I wanted from this page:
- List all the parks in a paginated view
- Have a gallery image view for each
- Show where each park is on a map
- (Ideally) show where all the parks are on a map view
Pagination
This was the most straightforward. Just needed to migrate to jekyll-paginate-v2 to make use of the custom collections feature. This did cause some churn of various upgrade path rough edges to keep parity with existing pagination on my blog pages.
Images
The first step for the images was sorting through and tagging all the photos in my library from the parks. They were geo-tagged which made this easier, but still a manual process of going through and tagging each park. From there I exported them all to JPEGs in folders to start the process of hosting them on this site.
I didn’t find any fully featured gallery solution for Jekyll that would meet my needs well. So I decided to roll my own with Photoswipe. I used a fairly simple _include that wraps a specific set of images in a gallery.
But there were a few complications with this approach:
- Image dimensions
Photoswipe requires you to tell the dimensions of each image. And I can’t hard-code it because some images were portrait and some were landscape. At first I just added a plugin which used ImageMagick to pull the image dimensions of each when the site was being generated. This quickly became very slow as it recalculated it for every single image each time the site was changed. So I pivoted and had Claude write a ruby script which precalculated it all and created a YML file listing all the image metadata. I also updated this script to create all the base scaffold pages for all 46 parks so I didn’t need to do that manually.
- Image sizing
When you load the page, it loads thumbnails for all the images. But if we don’t properly resize those, it would just load the full images for each which would be slow (and costly). So to solve for this, I looked into solutions using the img srcset property which will dynamically load whichever asset dimension is needed. Luckily, there is already a great Jekyll plugin, jekyll_picture_tag which takes care of this. I installed it, wrapped my images tags with it, and everything worked perfectly!
…Except when I went to deploy and test my changes in AWS Amplify. Because the library uses a dependency called libvips which isn’t in the default Amplify build image, the whole thing crashes and burns. I could install libvips in the build steps, but this turns out to be very slow. Taking multiple minutes on each build iteration. So I decided to set out and create a custom dockerfile that has all the dependencies I need. In the end I open-sourced it, so it may be useful to others using a similar setup in Amplify. The Github readme has some instructions on how to use it.
The dockerfile took me much longer than I would have liked to get in a working state. But the end outcome is ideal because Amplify can still build my site and the build is quite fast. I also used a small code snippet to cache the generated resized images between builds so that it doesn’t need to re-render images that have already been sized properly.
Maps
For each park I wanted to include a screenshot of where it is on a map. The Apple Maps Web Snapshots seemed to fit the bill perfectly. I could have gone with the easiest option of scripting creation of the images I needed to include in my site. But instead I decided to create my own Jekyll plugin for it. Originally it was just a custom _includes but then I decided to refactor it to be a Liquid block. And at that point I had something that was in pretty good shape so I decided to open source it.
I did put in some more effort to clean up the code and write unit test coverage. For extra credit (and to just see where open source tooling is these days), I integrated test coverage and CI with CircleCI and Codecov. Overall this was pretty smooth except some small hiccups that I might write about some other time. This was also the first time for me to publish my own open source gem, which was easy to figure out.
I experimented with using Cursor and and Claude 3.5 Sonnet quite a bit while working on this plugin. It got me probably 60-70% of the way to most of the functionality I wanted, and the rest was just cleaning it up and productionizing it. It definitely has its limits, but was very useful for some of the boilerplate code that’s usually very tedious to work through for a personal project like this.
Once I had the plugin open sourced, I just pulled it into my site’s gemfile as a public repo and everything worked as expected! Then I started to work the interactive Apple Maps embed that lists all the parks in one place. This one was honestly more of a hack-job, but it does work. I considered putting more effort into it to include it in the Jekyll plugin, but it’s a pretty frontend project so I punted it for now. Currently it’s just some templated JS directly in that page and it does work for now.
Writing the content
With all the technical details complete, I had to finish up by writing the actual content. We had written ratings already for each park in the spreadsheet so I just had to reference that for each write up. I could have written more content about each park, but decided to leave it fairly minimal for now. I might add more depth in the future, but I’m eager to ship, having worked on this on and off for several months on nights/weekends.
Conclusion
In this end, this took an somewhat absurd amount of effort to create a page that is quite simple in functionality. But I also created some open source software that is may be of use to others. And my site’s setup is now modernized, making future updates easier. I also learned a lot in the process, and experimented with LLM coding tools like Cursor to make my work more efficient.
I hope others enjoy viewing the park write ups. And even if not, it’s still satisfying to have finished this project and have my adventure documented. There’s something to be said for finishing the project and actually shipping even if it’s mundane, and I’m glad to have done that. There’s plenty of things that I want to improve about the page, but for now it’s functional and out there! And it’s fully hosted by me with full creative control, not beholden to any social network or hosting provider :).

I really enjoyed visiting all these parks and experiencing something new. I can’t wait re-visit some of them later. And who knows, maybe I’ll tackle a similar challenge in San Francisco sometime.